How to Gravity Bleed Brakes Alone
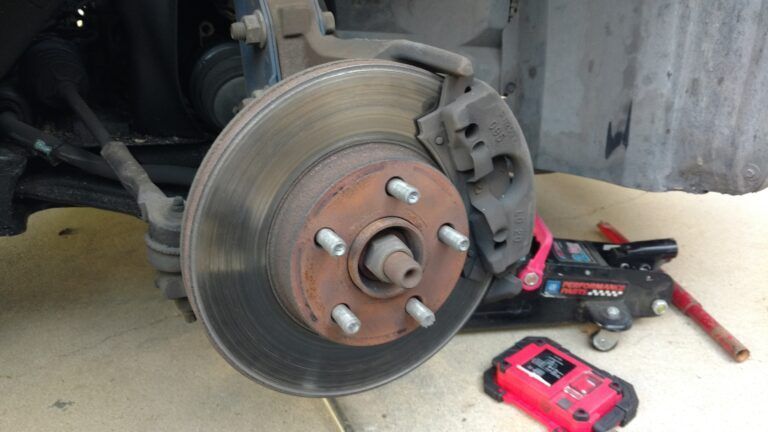
Maybe you want to bleed your brakes because you changed your pads and rotors and want to get the air bubbles out.
Maybe you’re like me, and you changed not only the caliper but also the brake line.
In any case, the whole point of bleeding your brakes is to get the air out of the system, and that’s what we’re going to do now to bleed your brakes on your own.
In this article, I will show you how to bleed your brakes by gravity alone. Gravity bleeding is a process in which the brake lines are manipulated to remove trapped air bubbles.
Gravity bleeding is an effective method of releasing air bubbles in the brake lines, and the result of this process is always 10/10.
Gravity Bleed Brakes
Gravity Bleeding is a method in which new fluid is introduced into the system while the old fluid is drained. The idea is that the incoming liquid expels any air bubbles that may form.
As you probably know, the brake fluid needs to be changed approximately every two years because brake fluid draws moisture from the air.
If the brake system is heavily loaded from prolonged driving, it heats up, and the heat is transferred from the brake pads to the brake pistons and from there to the brake fluid.
The water contained in the brake fluid begins to boil much earlier than the pure fluid would.
This process produces vapor bubbles, which cause more extended pedal travel and a reduced braking effect.
This happens because the water in the brake fluid is compressed in the brake lines.
The driver can determine this quickly because the brake pedal feels very “spongy” at this point and can be depressed without any braking effect.
Can I Do Gravity Bleed Brakes Alone?
If you don’t have a helping hand, you can still bleed the brakes in most cases.
So, yes, for this, you need to open your bleeder and let gravity do its job.
Tools Do I Need To Bleed Brakes:
- Masking tape for the safety issue
- A small pair of vise grips
- An open-end wrench
- An empty quart jar
- One quart brake fluid/ oil
- 5 feet of 3/16-inch plastic tubing
- Automotive jack and four jack stands
- Hammer
How to Gravity Bleed Brakes Alone
If you proceed carefully, you can bleed the brake system yourself. However, if you are in any doubt, it is best to leave it to the professional.
After all, brake failure can quickly lead to an accident with damage to the sheet metal and, worst case, injury.
The top priority is cleaning in the form of lint- and dirt-free gloves and rags so that no foreign bodies can enter the brake system and cause damage.
Therefore, the separation points must be hermetically sealed immediately after each work step.
Step 1: Raise Your Vehicle Above The Ground
First, you need to raise your car. Please make sure the vehicle is secure before working on it. Shaking it slightly, you can see if it is holding steady.
Do not push too hard if the car is not stable, as the jack could slip and the vehicle could be damaged.
When the car has been raised and is standing securely, you must remove the wheels. Use the wrench for this.
Step 2: Find The Brake Fluid Reservoir
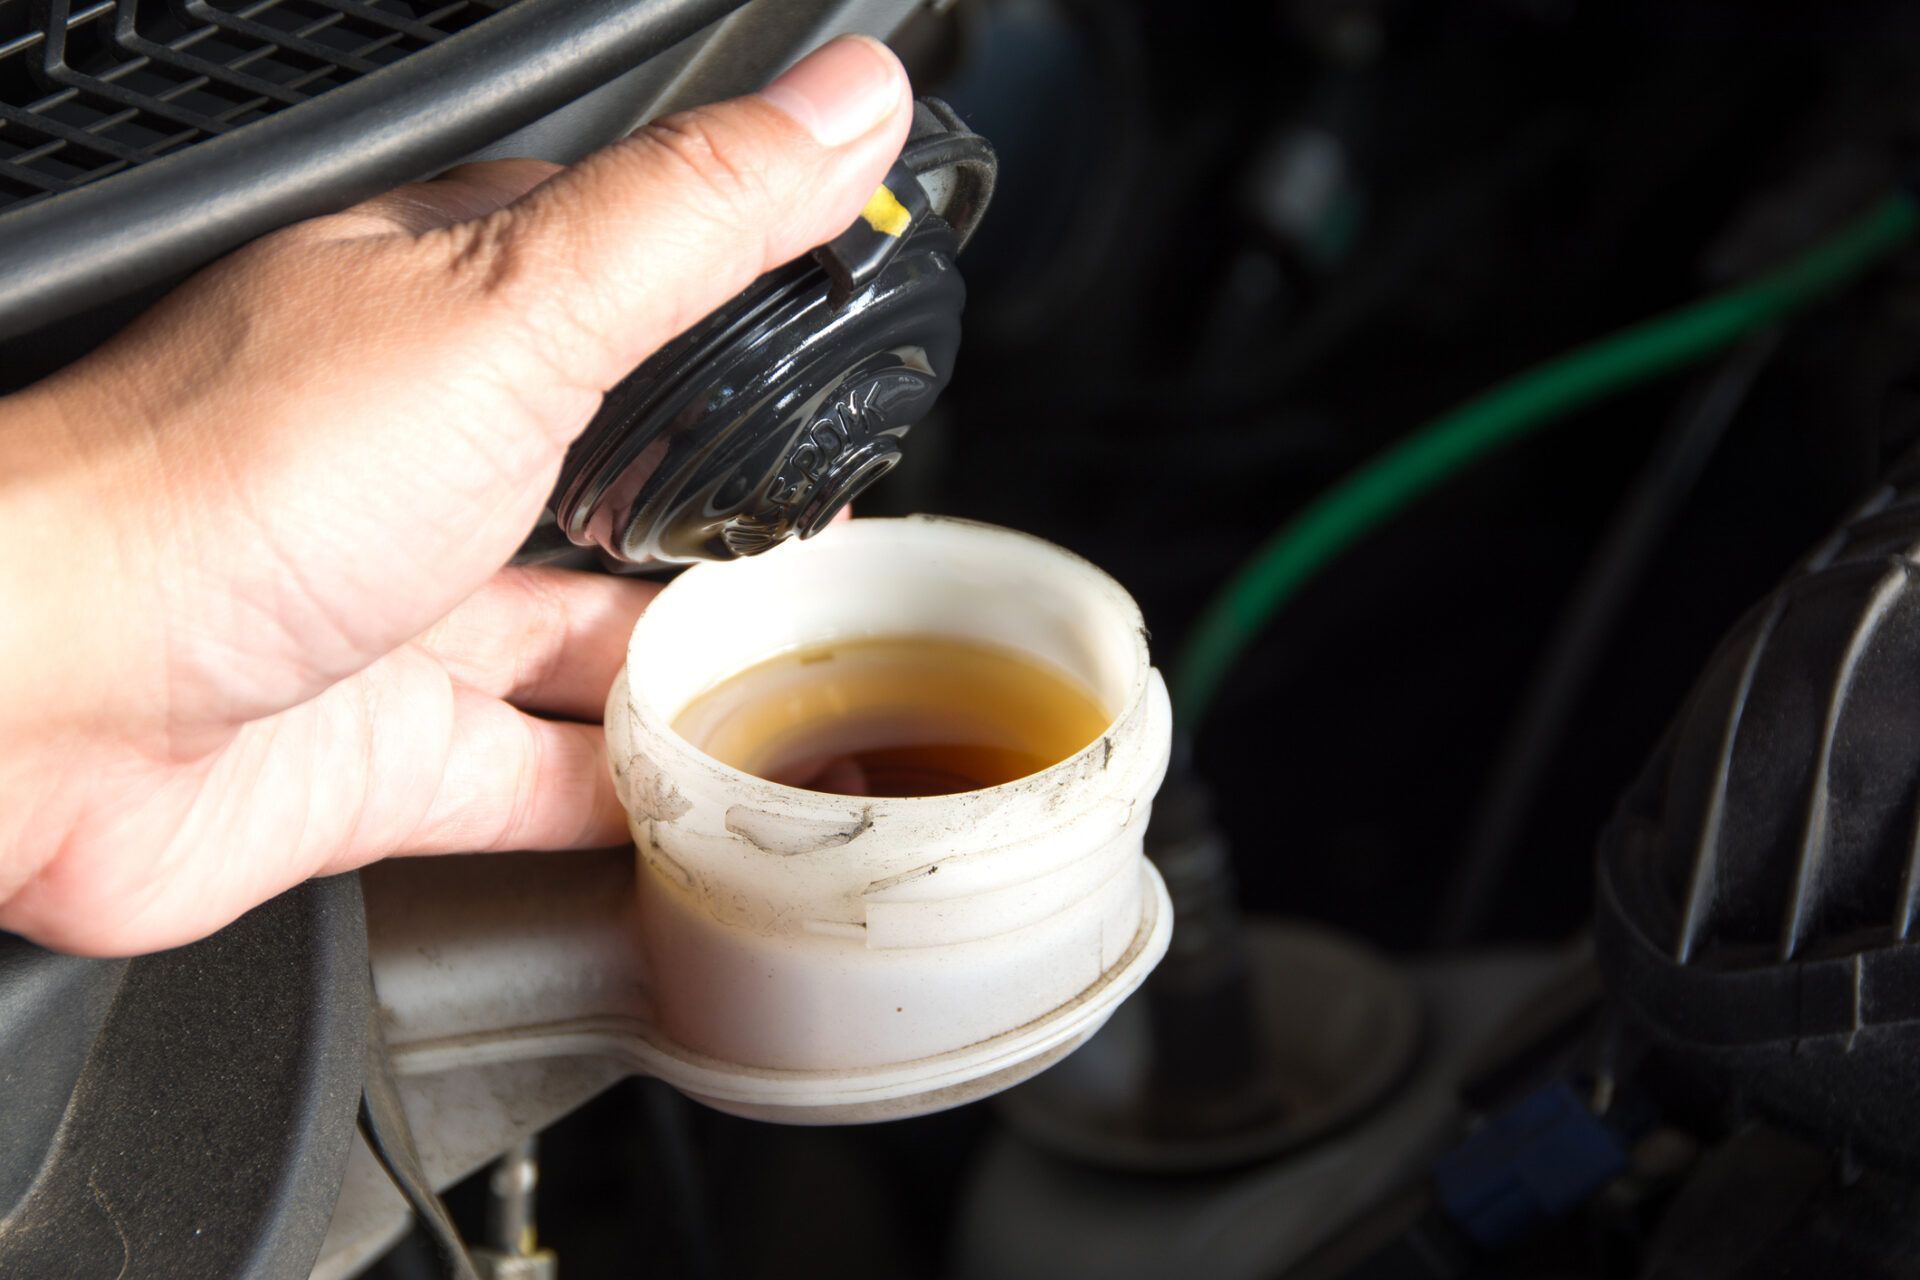
Find and remove the top of the master cylinder reservoir. As a rule, cars have this reservoir which is light-colored with a black cap, and it is located in line with the brake pedal in the engine compartment.
Step 3: Attach The Plastic Tubing
You will need to start with the brakes located furthest from the master brake cylinder. These are usually the right rear brakes. Locate the brake line bleeder screw and slide the end of the clear tubing over the screw nipple. Dip the other end of the tubing into a container that is held above the fluid reservoir. This will prevent air from being sucked into the brake system.
Step 4: Release The Air Bubbles
Loosen the bleed nipple screw with the wrench at approximately ¼ turn. While the hose is still attached, loosen the bleed screw. This opens the brake line and allows the fluid to flow. Since the brake fluid reservoir is higher than the bleeder screws, gravity may cause a small amount of fluid to flow into the hose when the bleeder screw is opened.
This is a good sign of no obstructions in the fluid line. This process will take about 3 to 4 minutes, so you must be patient. To speed up the gravity bleed process, take a wooden handle or a rubber mallet and tap the brake calipers several times. Check your brake fluid reservoir; it should be filled appropriately.
Step 5: Close The Bleeder And Replenish Brake Fluid Reservoir
Close the bleeder. Before removing the clear tube, close the vent screw to prevent air entering.
The bleeder screw does not need much force to close, and a quick tug should be sufficient. Brake fluid will come out of the hose, and you will have a rag ready.
Check the brake fluid level in the reservoir. You will see that the level has dropped a little. Add more brake fluid to refill the reservoir. Do not let the brake fluid reservoir run dry.
If air bubbles exist in the previous fluid, repeat the above steps until the fluid is clean and clear.
Step 6: Bleed The Remaining Brakes
Repeat this process for each other brake valve until all four are fully vented. Ensure the amount of brake fluid in the reservoir does not drop below ¼ cup, which could cause air to enter the brake system.
Step 7: Test Drive And Troubleshooting
It’s time for a test drive. Step firmly on the brake pedal to ensure it is nice and firm before starting the vehicle. At this point, it should feel almost like stepping on a rock.
You may feel the pedal go up or down as the vehicle starts and the power assist starts. This is normal as the brake booster system amplifies the force you apply with your foot and transfers it through the hydraulics.
Take the vehicle for a drive and slow down with a firm application of the brake pedal to test its work. The brakes should have a very quick and sharp response to your pedal applications. If you feel that the pedal is still too quiet or the braking power is insufficient, you should ask a local expert for help.
If you have any more questions on how to bleed your brakes or if you’d like to schedule an appointment to have your brakes, give us a call at hybrid repair san diego
